在本文中,我们将讨论如何使用Raspberry Pi创建一个web服务器并在其上运行PHP脚本。
null
网络服务器 基本上是简单的计算机程序,当使用web客户机请求时,它们会分发web页面。运行该程序的机器通常被称为服务器,web服务器和服务器的名称几乎可以互换使用。
创建web服务器并使用Raspberry Pi在其上运行PHP脚本的步骤:
- 更改为根目录并运行更新:
sudo -i
apt-get update
- 现在安装以下过程所需的每个软件包,
apt-get install nginx php5-fpm php5-cgi php5-cli php5-common
- 然后启动服务器
service nginx start
- 现在运行以下命令:
ifconfig // it tells the ip address
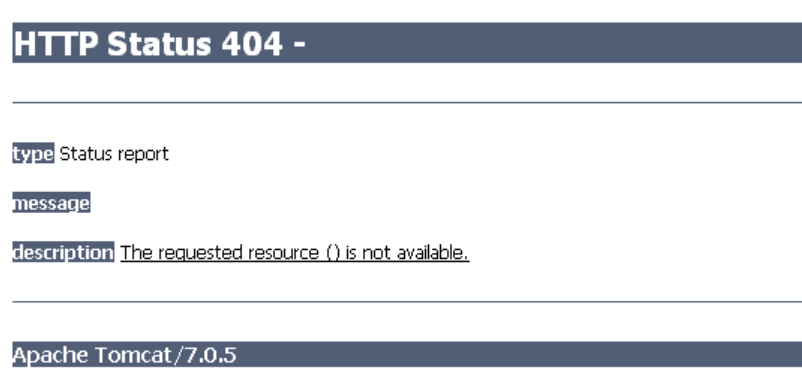
现在将此ip地址粘贴到计算机浏览器。如果以上一切顺利,那么它将在浏览器窗口上显示以下文本/窗口。
Welcome to nginx!
![图片[1]-创建一个web服务器,并使用Raspberry Pi在其上运行PHP脚本-yiteyi-C++库](https://www.yiteyi.com/wp-content/uploads/geeks/geeks_Nw4lK.png)
要在此web服务器上运行PHP脚本,请执行以下操作:
- 输入配置目录:
cd /etc/nginx
- 现在导航到 可用站点 目录
cd sites-available
- 将有一个文件名为 违约 ,打开并通过键入来编辑它
nano default
- 现在找到下面的行并取消注释。
location=.php5 { fastcgi_split_path_info "(.*.php)(/.*)5; fastcgi.pass unix:/var/run/php5-fpm. fastcgi_index index.php; include fastcgi_params; } location=/.bt{ } - 还有,线下的变化,
index index.html index.htm;
到
index index.php index.html index.htm;
//to use PHP we added index.php
现在要保存并退出,请按Ctrl+x,然后按Y。
- 现在,让我们重新启动服务器,以收集已完成的更改:
service nginx restart
- 现在我们必须创建一个索引。php文件在我们的 万维网 目录
cd/user/share/nginx/www
nano index.php
- 在这里写下这个脚本:
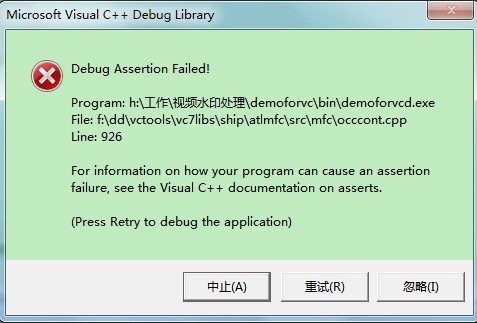
<HTML><HEAD><TITLE> hello world<TITLE></HEAD><BODY><?phpprint("Hello from GeeksforGeeks");?></BODY></HTML> - 现在保存它,然后使用该IP地址或类型在浏览器中测试所有内容 你的IP地址/索引。php e、 g 192.168.182.1/索引。php
![图片[2]-创建一个web服务器,并使用Raspberry Pi在其上运行PHP脚本-yiteyi-C++库](https://www.yiteyi.com/wp-content/uploads/geeks/geeks_output1-6-1.png)
© 版权声明
文章版权归作者所有,未经允许请勿转载。
THE END
![关于”PostgreSQL错误:关系[表]不存在“问题的原因和解决方案-yiteyi-C++库](https://www.yiteyi.com/wp-content/themes/zibll/img/thumbnail.svg)